
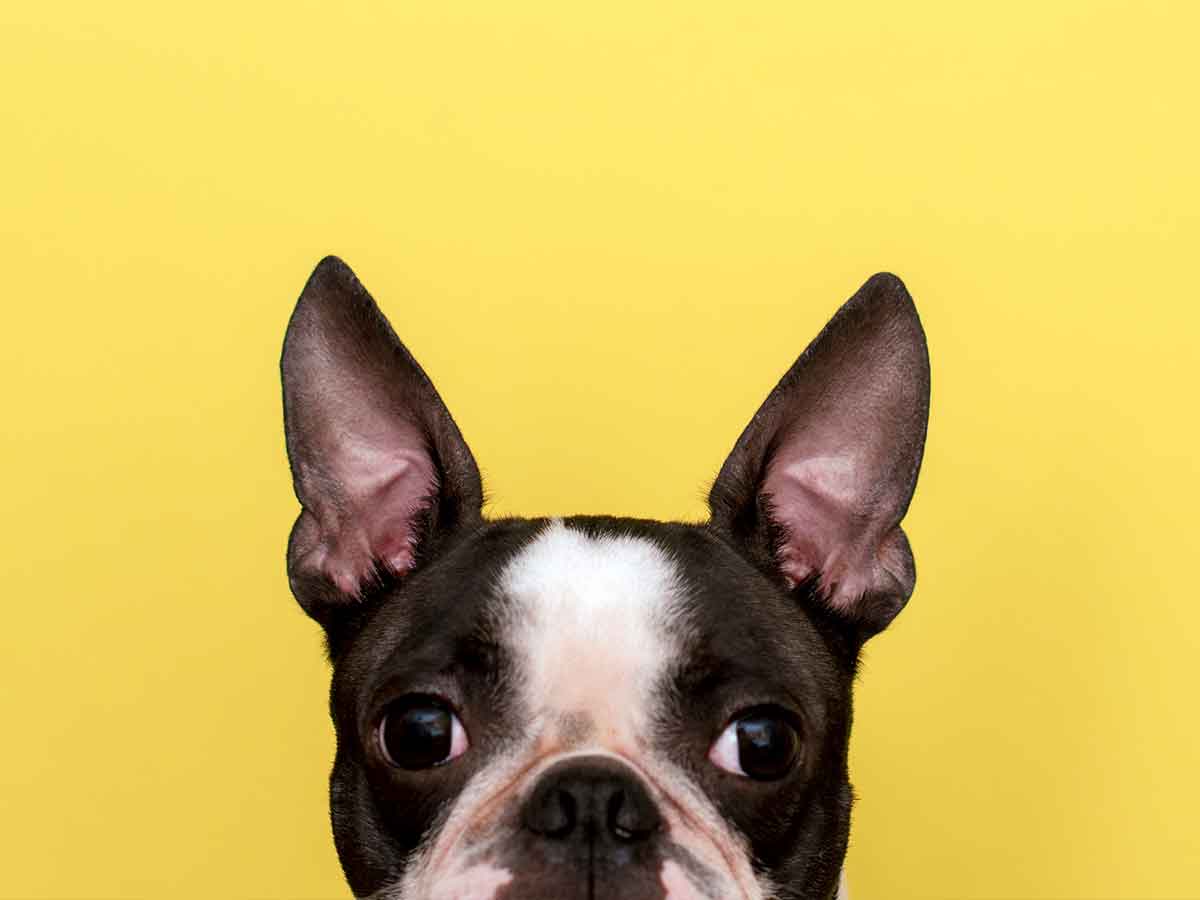
How to clean your pet’s ears
When keeping your pet squeaky clean, don’t forget the ears!
One of the many important things to do for your pet is to clean their ears. How do you know it’s time to clean them? Well, you can start by looking at the visible parts of their ears at least once a week.
When to clean
If you notice a slight odor coming from the ear or see debris or ear wax, it may be time to clean your pet’s ears with an ear flush that’s approved by your veterinarian. This ear flush can be purchased from your veterinary clinic. It’s also recommended to flush your pet’s ears whenever they have been exposed to water (after a bath, a swim, or if it was raining outside).
When to see the vet
If you notice odor or redness/irritation in your dog or cat’s ears, schedule an appointment with your pet’s veterinarian. You need to make sure that your pet does not have an ear infection, a blockage, or other serious condition that may be causing symptoms.
Your pet’s veterinarian will use a special instrument called an otoscope. Their training with an otoscope allows them to peer deeply into the canal to look for infection, trauma or foreign materials without causing damage to the ear. If needed, they will take a sample to determine what kind of infection your pet currently has and may treat it with medication. Once your veterinarian has examined your pet to rule out serious medical conditions, they may recommend regular ear cleaning as part of their regular grooming routine.
Prepping your pet for ear cleaning
Once your veterinarian has advised an ear cleaning, you’ll need to gather all the necessary materials for ear flushing. These items should include: cotton balls or gauze, ear flush, ear medication, treats, and most importantly a confident and positive attitude. Make sure that you choose a room that is easy to clean and away from anything edible or valuable (such as a bathroom or mud room, or outside while your dog is leashed).
Place all your cleaning materials within arm’s reach, as you may need to pivot around depending on the calmness of your pet. Remember to use positive reinforcement such as praise and treats to motivate your pet to be on her best behavior.
Turn on some soothing music and speak in a calm, warm tone to try and keep the environment as low-stress as possible. It’s not uncommon for pets to become uncooperative you touch their ears. Similar to clipping nails, it is a good idea to start this routine as early as possible for your pets, as they will learn at a younger age that this is something that they should sit and tolerate.
Make sure you don’t use cotton swabs inside the ear as they push down the wax further into the ear canal. They can also cause injury to the inner ear. The only time you may use cotton swabs is to get rid of wax build-up in the outer ear, which is the inside part of the ear flap. Do not move any closer than the vertical canal to avoid damaging any part of the ear.
How to clean your pet’s ears
Now that you’re equipped with more knowledge on ear issues, it’s time to go over how to actually clean the ears!
- Once you have all of your materials set up, apply the ear flush as prescribed by your veterinarian.
- Massage the base of the ear gently.
- Then, with gauze or a cotton ball, wipe the outer ear to remove any visible loosened dirt or wax build-up. The gauze should trap any loose debris as you guide it out from the ear.
- Let your pet shake his head to loosen any other debris and check the ear once more to see if anything should be wiped out again with either another gauze or cotton ball.
- Repeat on the other side, if needed.
- If your veterinarian prescribed medication for your pet, read the labeled instructions and follow them accordingly. Pay attention while reading the instructions as some products require that the ear be dried before dosing while others do not.
Congratulations! You’re now prepared to keep your pet’s ears sparkly clean!
Want to share this article?


More like this
- Top five ways to love your pet
 Your furry friend loves you unconditionally, so show your dog or cat that you love them right back
 - Choosing a litter box
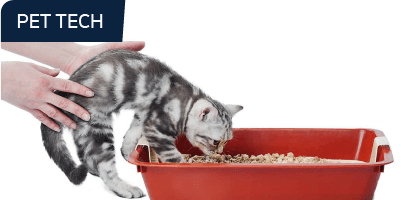 Fluffy is unique, so her litter box should be too. Make sure you’re choosing the right one.
 - Could you raise a service dog?
 Interested in raising a service dog? Here’s what you need to know.